A photo study: colour

The grey surroundings make all dull. It is hard to notice a little colour, colours which otherwise invite us. The weather forecast makes sure to tell us about rain and rain. At the end one gets tired of being inside.

So I took a walk and little improvement in the weather let me saw autumn colours. Here they are “first hand”.

learnphoto25_1

The colours are not bright as they would be in normal bright setting but my eyes and my mind set on them. My eyes catch golden yellow colour on any background in autumn. Am I biased?

This post is inspired by Brenda’s post on contempletive photography VI


Street Photography: Time to relax

In this post I shall combine two themes  “street photography” and “lens artists photo challenge“.

I am very much fascinated by Brenda’s various photo studies. In one of her post Brenda talks about street photography and I must admit that am not so comfortable while capturing people. It is quite challenging.  The images I present now are quite plain. In my next photo study tour shall try to capture some light and shade effects.

Also for lens artists photo challenge, the theme for this week is time to relax. I decided to capture tourists and showcase the way people relax while travelling and visiting new places.

learnphoto24_5lac_25july18_1lac_25july18_2learnphoto24_4learnphoto24_3learnphoto24_2lac_25july18_3

Oops these days people spend more time on their mobiles than anything else 🙂

How about me!

We will be more successful in all our endeavors if we can let go of the habit of running all the time, and take little pauses to relax and re-center ourselves. And we’ll also have a lot more joy in living ~ Thich Nhat Hanh

lac_25july18_5

In town

lac_25july18_6

On road

lac_25july18_7

In a remote place with such cosy setting

I hope you like the images.

Photo Study: Rule of thirds

A few days ago I saw a very nice post by Helen and her post  directed me to a wonderful post by Brenda on “the rule of thirds“.  A rule which is used to create a well balanced photograph. After all it is important to know where to place our object(s) in the frame.

Taken from Brenda’s text, “the rule of thirds is the element of composition that begins with dividing an image into thirds, horizontally and vertically, creating nine imagined sections. ”

On Brenda’s post I thoroughly enjoyed a video by Saurav Sinha about composition.

The theory is that if you place points of interest in the intersections or along the lines than your photo becomes more balanced and will enable a viewer of the image to interact with it more naturally. (https://digital-photography-school.com/rule-of-thirds/

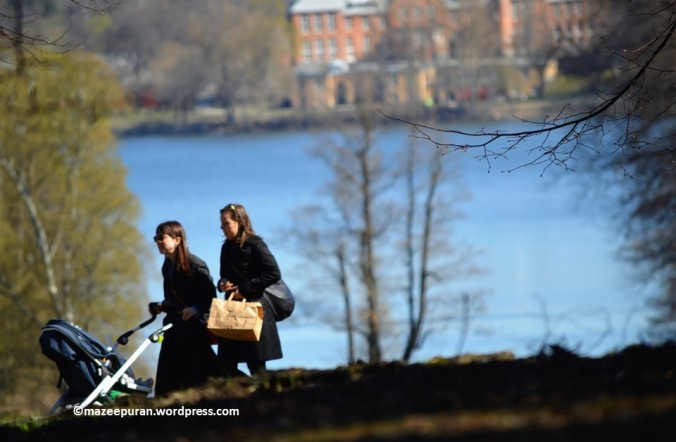
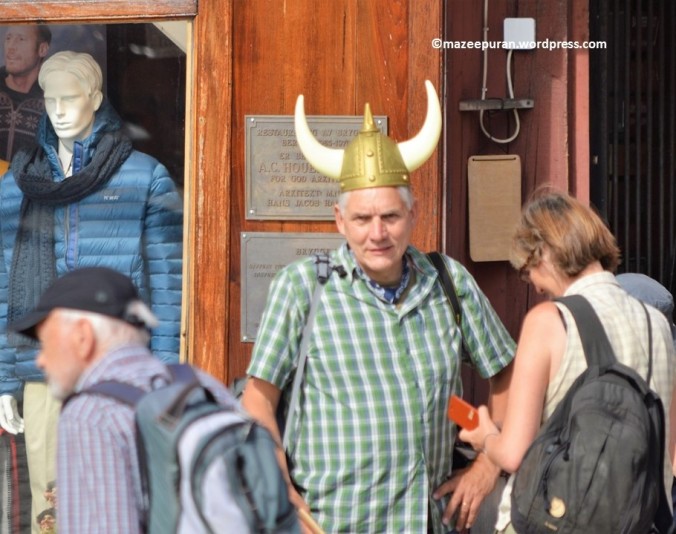
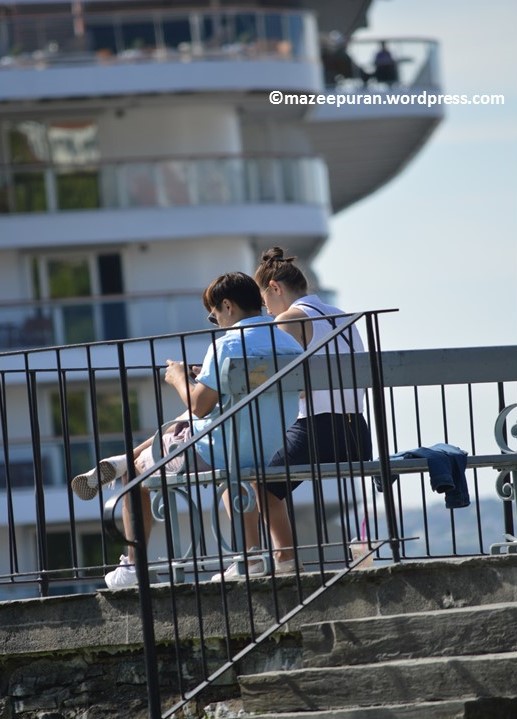
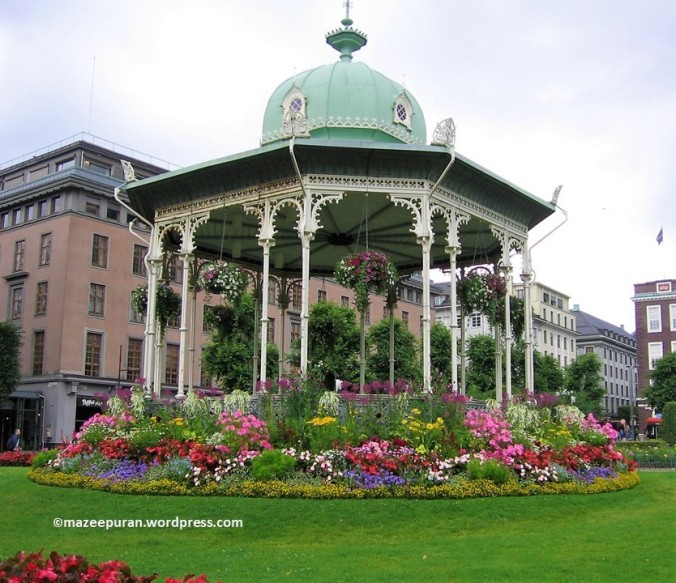
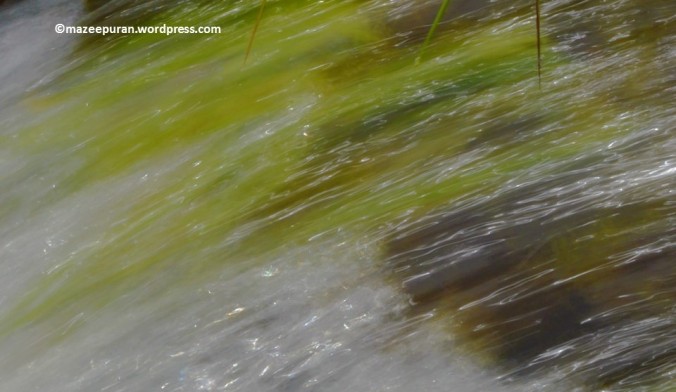
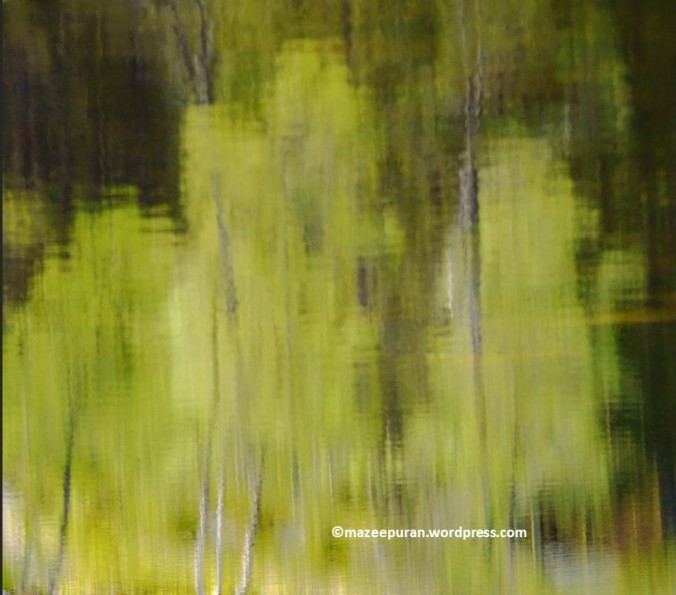
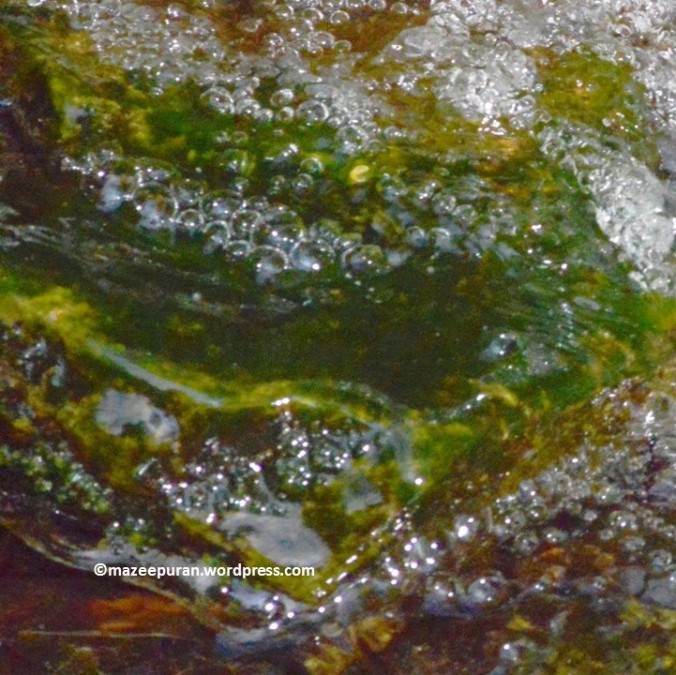
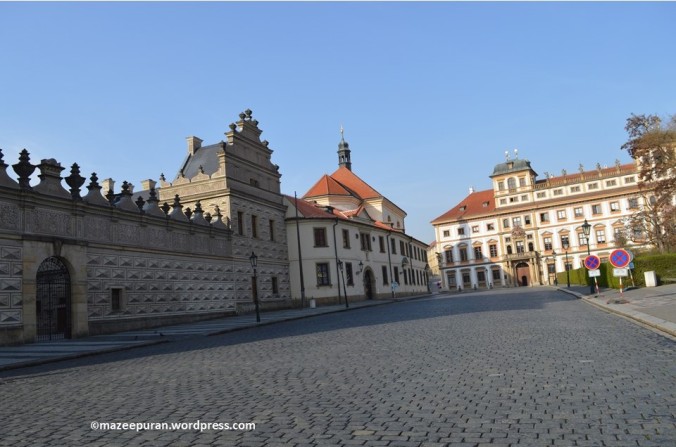
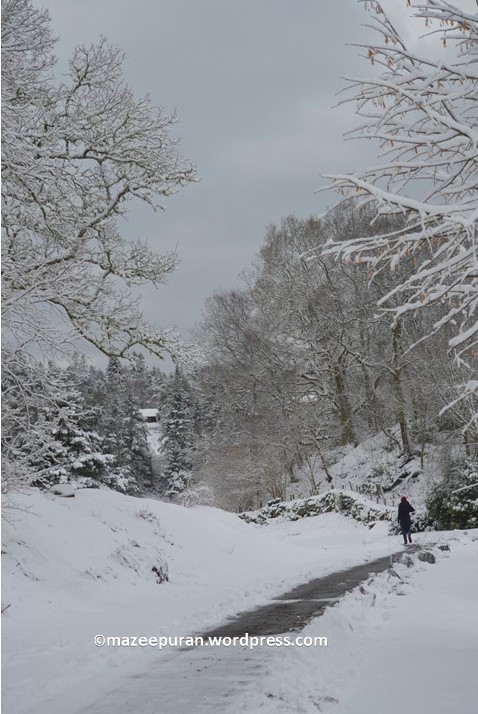
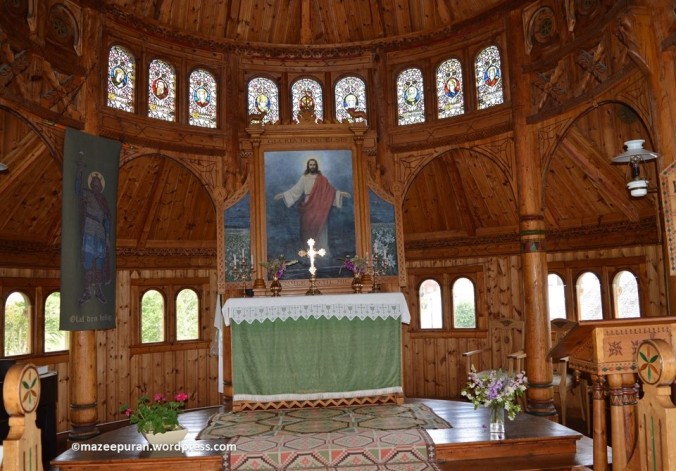
After going through the theory, I am presenting four images taken at different time points with different purposes.

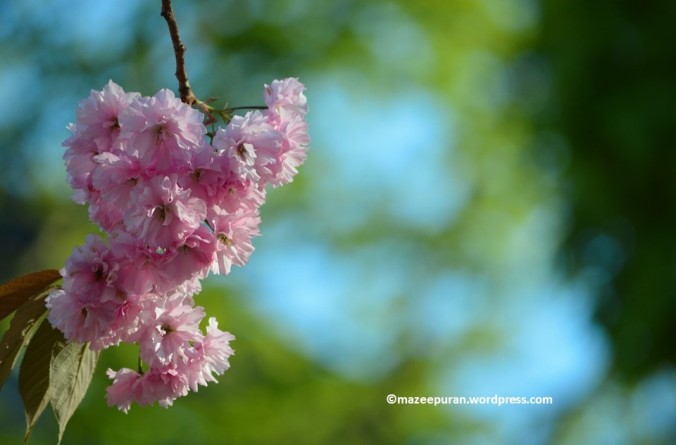
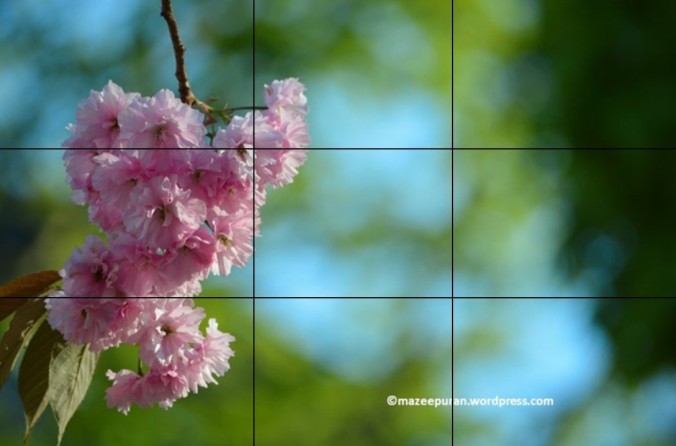
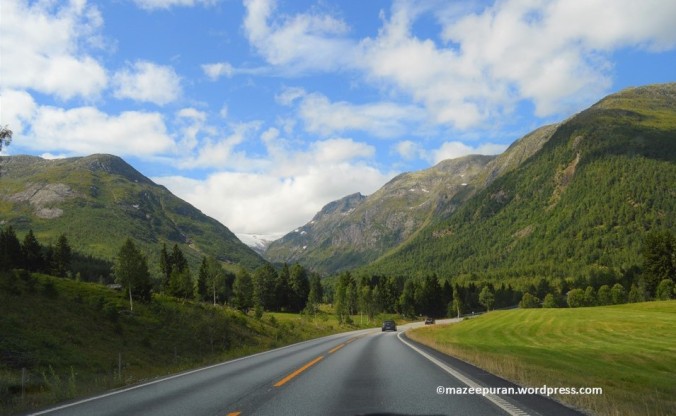
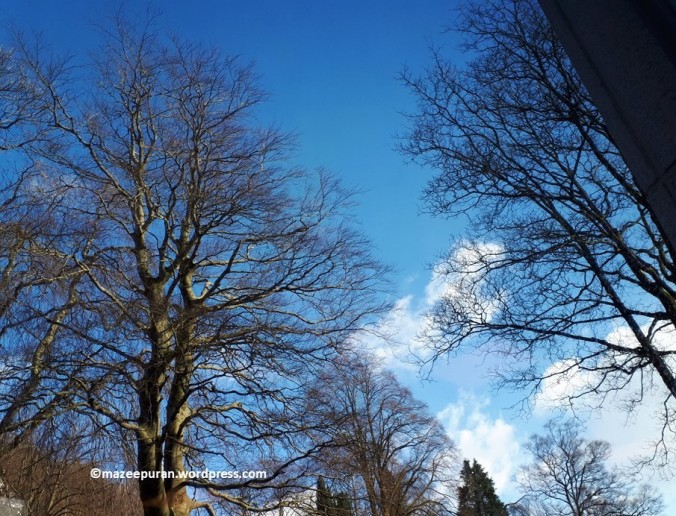
In my first image, I wanted to include the colourful background (which was created due to clear sky and green branches)

learnphoto22_1

learnphoto22_11

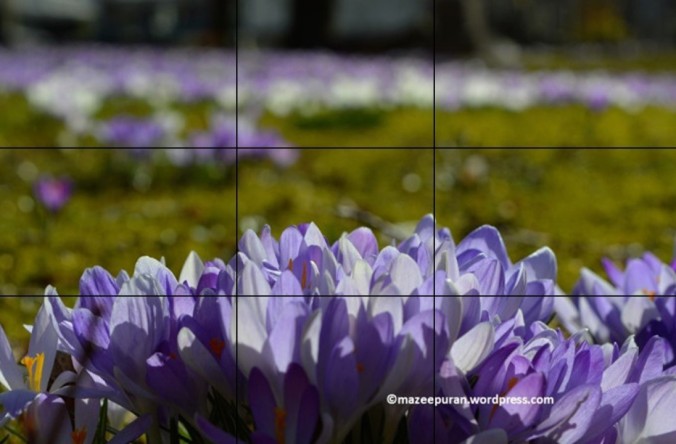
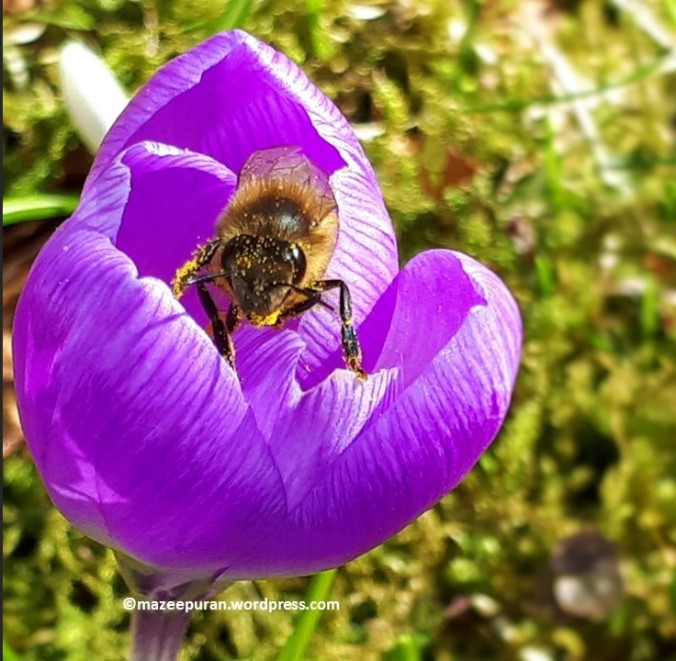
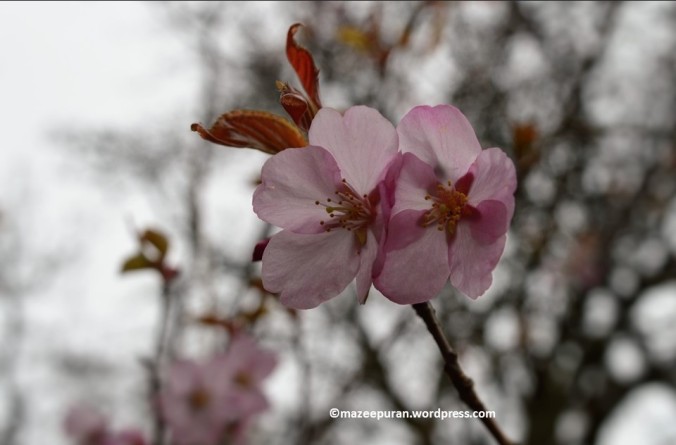
In the second image, the object is crocus and the idea was to present crocuses from a close distance but also to give a view of crocus field.

learnphoto22_2

learnphoto22_33

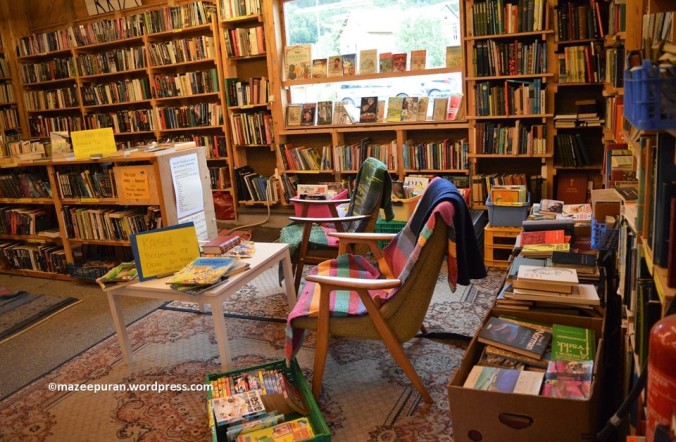
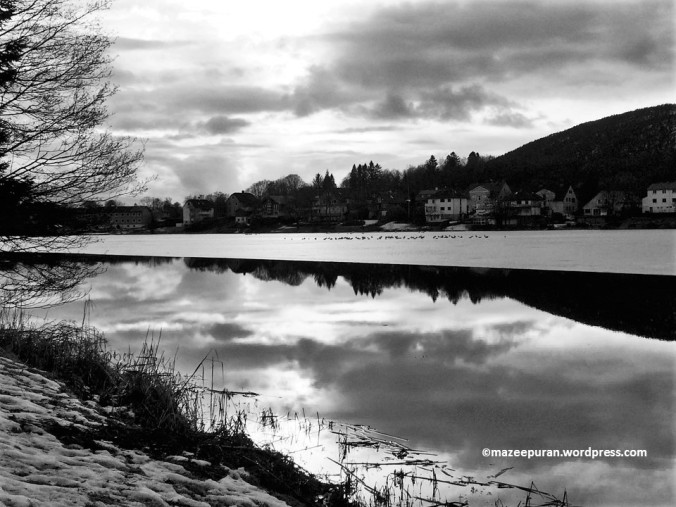
One more image using the rule and adding some background.

learnphoto22_3

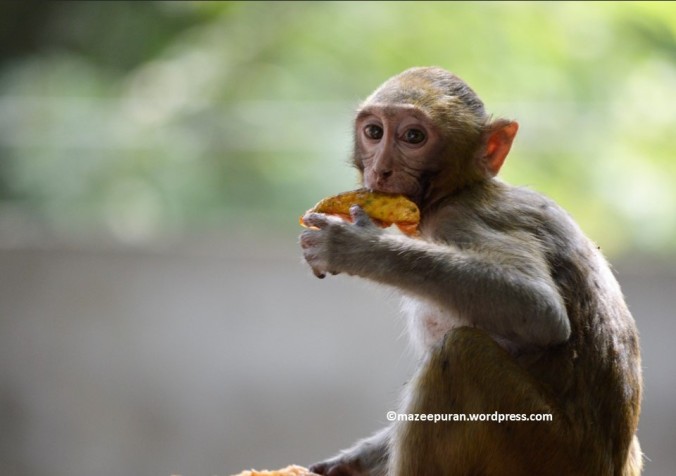
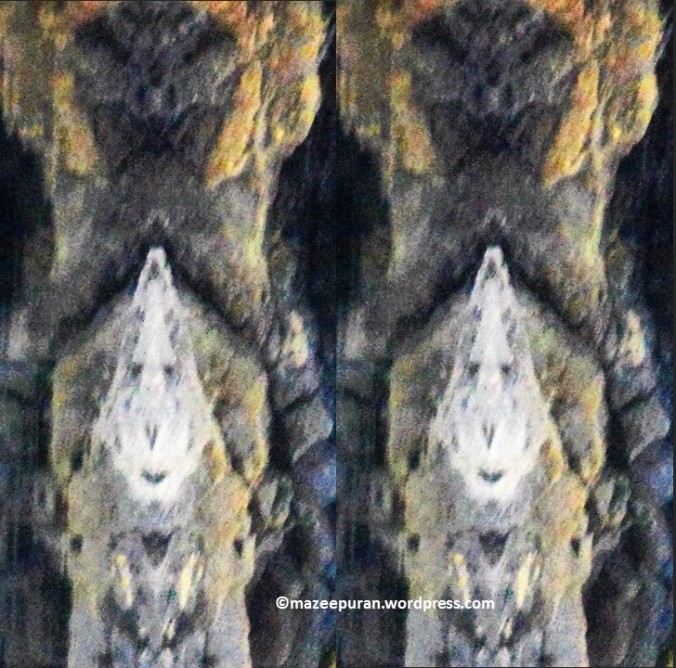
Lastly an example where the photo is centred.

learnphoto22_4

Some interesting information:

The rule of thirds was first written down by John Thomas Smith in 1797. In his book Remarks on Rural Scenery, Smith quotes a 1783 work by Sir Joshua Reynolds, in which Reynolds discusses, in unquantified terms, the balance of dark and light in a painting. John Thomas Smith then continues with an expansion on the idea, naming it the “Rule of thirds”

Smith’s conception of the rule is meant to apply more generally than the version commonly explained today, as he recommends it not just for dividing the frame, but also for all division of straight lines, masses, or groups. On the other hand, he does not discuss the now-common idea that intersections of the third-lines of the frame are particularly strong or interesting for composition.

Resource: https://en.wikipedia.org/wiki/Rule_of_thirds

I hope I have done justice and created interesting images. I would love to read any comments.

Thanks for reading.


Photo Study: capturing colour red

It’s late evening and my mind needs some relaxation after a day full of brain storming. I decided to participate in Brenda’s photo study: red. You have to believe me 🙂

Instead of going out.  I digged into my archives and looked the way I have captured red in my early photography days :D. The photos are from early 2015 when I got my DSLR.

As we know it is very difficult not to notice “Red” and at the same time it is really hard to get a good shot (I will never say perfect in my case).

Let’s begin our journey…

learnphoto21_1


What feels like the end is often the beginning!


“Men are like pillow-cases. The colour of one may be red, that of another blue, and that of the third black; but all contain the same cotton within. So it is with man; one is beautiful, another is ugly, a third holy, and a fourth wicked; but the Divine Being dwells in them all”
―Swami Ramakrishna  Paramahamsa

learnphoto21_3

Various shades of colour red on a street!

Right now it’s summer, how about relaxing on a red bench

learnphoto21_6

With sommer specials!

Point of departure and the difficulty!

I came across the phrase “point of departure” for the first time in a photo study post by Brenda with title “the photographer II“. In her post Brenda mentioned about Ralph Gibson (An American art photographer best known for his photographic books).

Point of departure according to Ralph Gibson, “to have a point of departure is not to go out and shoot. It’s to have a project in mind and going out looking for a shot that represents or showcases this emotion or concept that your project is about.”

“From now on, before I go shoot, I’ll consult internally to focus on one thing I want to capture, and have that point of departure. It’ll give purpose to my work and me being out there. The advantages are that I’ll learn patience, presence and a deeper sense of observation. This is a powerful and deep message…have a point of departure.” ~Ralph Gibson

I was caught up with the idea of point of departure and I started to look into my own philosophy about photography. A question I was asking myself, have I ever had a project in my mind? Tiny details of my photography tours. Gosh! I am such a bad learner. Of course I was not standing or sitting still to get my subject in my frame but my themes were quite broad. My only aim was to get an interesting photo either while walking up on a mountain for few hours or visiting an arboretum or a botanical garden. A very few times I had a fixed idea in my mind, a point of departure, like when I tried to capture moon from my kitchen window, capturing first fresh snow or capturing sunset sky after a rainy day. The duration of such projects were quite short.

Having a point of depature is not that easy. Aamateur photographer like me will always have a feeling of loosing some frames beacuse they do not fit in. Getting that matuarity is difficult than it seems.

There is so much so say but I donot want to bore my readers. I am happy to share that last Saturday I had my first proper photo tour with a point of departure, “low angle photography”. I am sharing some photos from that tour. Hope you will enjoy these and give me feedback.

learnphoto20_1learnphoto20_2learnphoto20_3learnphoto20_4learnphoto20_5

I am sorry if I confuse some of you with my earlier post on “low angle photography: looking up“. Yes I shared pictures on low angle photography in there as well but the photographs were taken on difference occassions. This post is about having a fixed plan and trying to get some good shots.

Low angle photography – Looking up!

Here are my photos to Brenda’s “a photo study: low angle“. I have thoroughly enjoyed her post. It comprises of nice explanation and fantastic photos. A good way to learn a new topic in photography.

My understanding of low angle photography is summariazed in the following points:

  • A different perspective to create unique compositions.
  • Camera is either beneath the subject or looking up at it.
  • Crouching and kneeling are very common positions but sometimes one might have to lie down to get a “worm’s eye view”.
  • Or otherwise looking up at the subjects above us.
  • Changing the angle can have big impact on the composition.
  • The most important is to find an unusual viewpoint.
learnphoto19_1

Bending knees after a hike is difficult

learnphoto19_2

How tall is the lamp post

learnphoto19_3

Hope no one saw me when I shot this photo in a graveyard

learnphoto19_4

From my gym windows

learnphoto19_5

Smiling Cherry Blossoms

Yesterday I was on a “point of depature” tour, the aim was “Low angle photography”. I got some interesting shots and shall write a new post involving the concept “point of depature”.

Hope you enjoy the photos 🙂

Studying rhythm in composition!

Recently I have started taking interest in the theory of photography in order to improve my photography skills.  I am focussing on learning different concepts and am following Brenda’s posts on “photo studies”. Brenda has explained “rhythm” with variety of photos including repetitive and non repetitive components in a photo and even included Ted’s video on rhythm in visual composition.

In this post I am presenting my understanding of rhythm ( just like rhythm in music). To start with there are photos with repeated patterns found in nature and in man made designs.


The rhythm in these photos is related to a specific pattern.  Next I want to see photos without repetition. In such cases by using a rhythmic element we present the mood or the flow.  We feel the movement when we see waves or flowing water or a picture of a road gives us a sense of rhythm.


I would love to hear your comments. Please share your knowledge of rhythm.

Next challenge would be to find rhythm in a minimal setting. But one thing at a time.

The rule of space!

I found Brenda’s post a photo study:rule of space very interesting. Posts related to various key concepts in photography are helping me understand  the theory of photography.

In her post Brenda talks about placing negative spaces in different situations to create sense of motion, activity or conclusion. Here is my contribution with photo deatils.

1.1/250 sec. f/8 18mm, ISO 100

learnphoto15_1

2.1/160 sec. f/6.3 55mm, ISO 100

learnphoto15_2

3.1/125 sec. f/5.6 55mm, ISO 280

learnphoto15_3

4.1/125 sec. f/4 18mm, ISO 220

learnphoto15_4

Have I managed to give a story in each of these images and create proper negative spaces? Is there something which is either unnecessary or lacking? Help me improving my knowledge.

Thank you.